Keep the receipt with the gift so returns are painless, or add a photo so you remember exactly which color or size you picked. The first photo also becomes the picture on the gift's card.
Steps
- Open the person's page and tap the gift.
- Tap Add a receipt or photo.
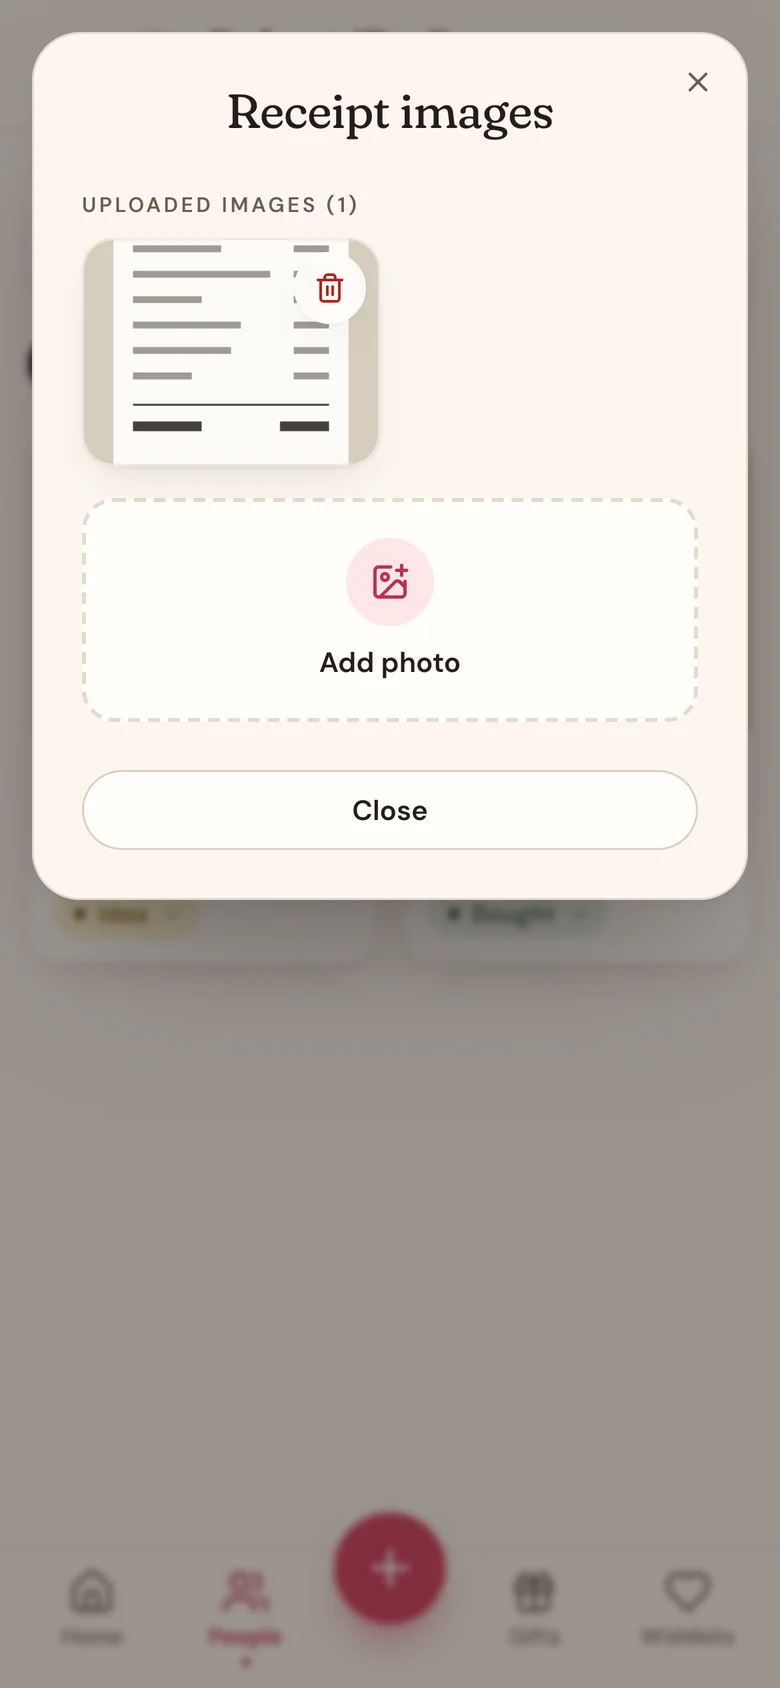
- Tap Add photo. On iPhone, choose Photo Library, Take Photo, or Choose File. On a computer, pick an image file.
- Wait a moment while it uploads. The photo shows up under Uploaded images.
- Add more if you like, then tap Close.
While adding or editing a gift
Photos are also under More details, in the Photos section.
- New gift: tap Save & add photos. Wishpile saves the gift and keeps the sheet open, then tap Add photo.
- Existing gift: open the gift, tap Edit gift, and tap Add photo.
If you added the gift by pasting a link, the product photo is usually there already.
See your photos
Open the gift and tap its photo to see it full size. If there's more than one, you'll see "+2 more" (or however many) on the photo. Use the arrows or the small thumbnails to flip through them.
Delete a photo
In the Receipt images window, or in Edit gift under Photos, tap the trash can on the photo. It's removed right away, and this can't be undone.
Good to know
- Any photo from your phone works, including iPhone photos. JPEG, PNG, and WebP images work too. Big photos are shrunk automatically so they upload quickly.
- Photos only: a receipt that's a PDF needs to be a screenshot or photo first.
- If a photo can't be added, you'll see "Couldn't add that photo" with the reason. If the format isn't supported, try picking it from your photo library instead. If the upload timed out, check your connection and try again.
- Photos stay with the gift, so anyone who can see the gift can see its photos.
Related
Still stuck?
Ask Wishpile and get an answer in seconds, or email support@wishpile.com and a real person will get back to you. Quick answers live in the FAQ.