If someone added you to their wishlist group, you have a page that's just for you. Build your wishlist there and shop everyone else's, all without an account.
Steps
- Open the link from your invite email (the Open my wishlist button), or the link the organizer sent you.
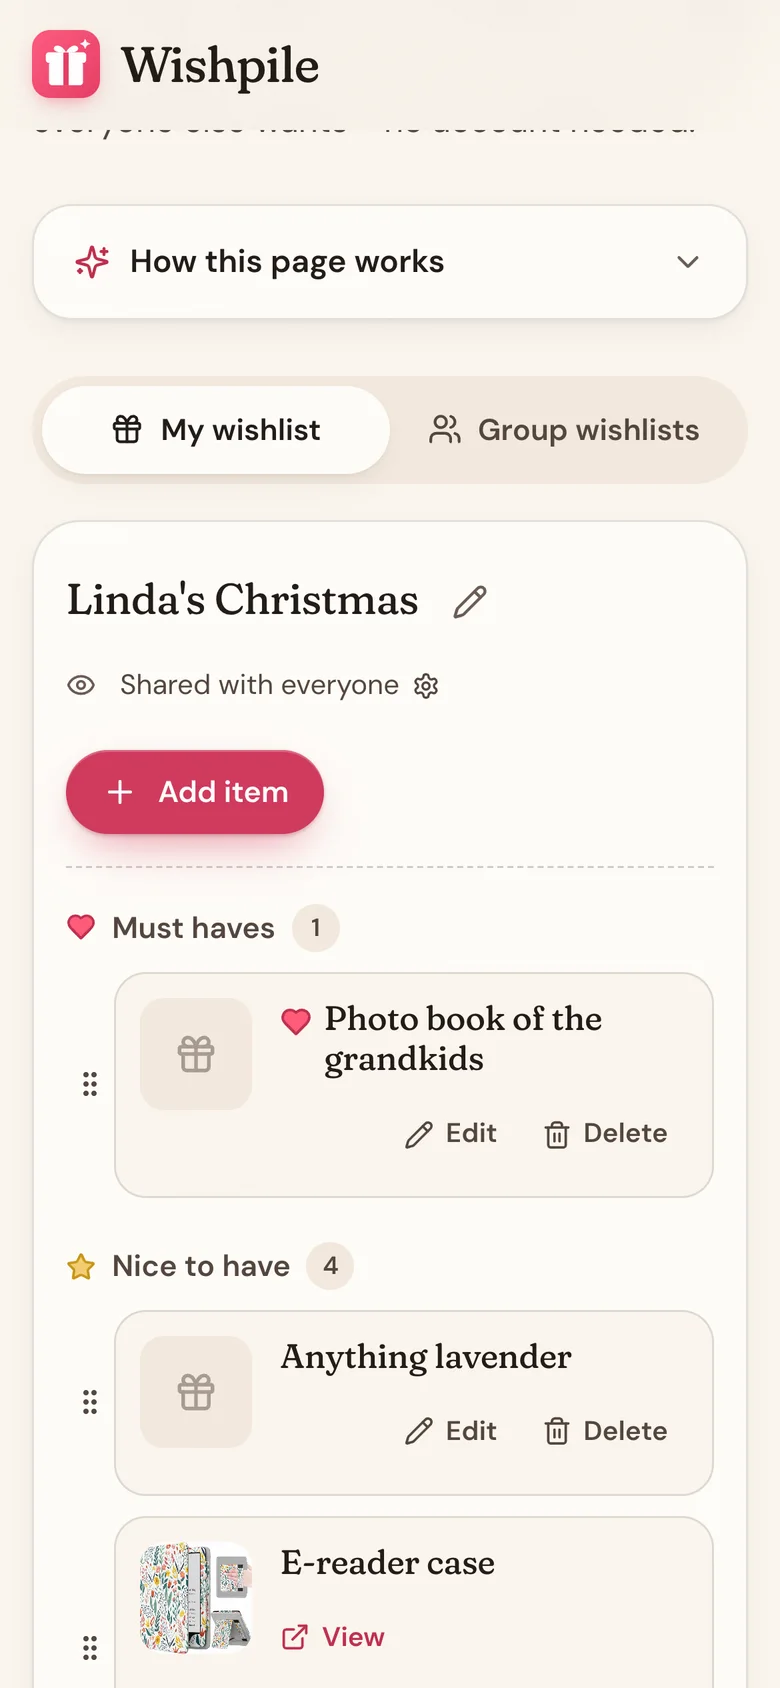
- On the My wishlist tab, tap Create my wishlist. If the organizer already started one for you, skip to step 4.
- Name it if you like, then choose Who can see this wishlist?: Share with everyone so the whole group can shop for you, or Private (organizer only). Tap Create wishlist.
- Tap Add item and paste a store link into Product URL. The name, price, and photo fill in on their own, and a shop abroad keeps its own currency. No link? Just type an Item Name. To change a price's currency, tap the symbol to the left of Price.
- Tick This is a must-have item for the things you'd love most, then tap Add item.
Shop for everyone else
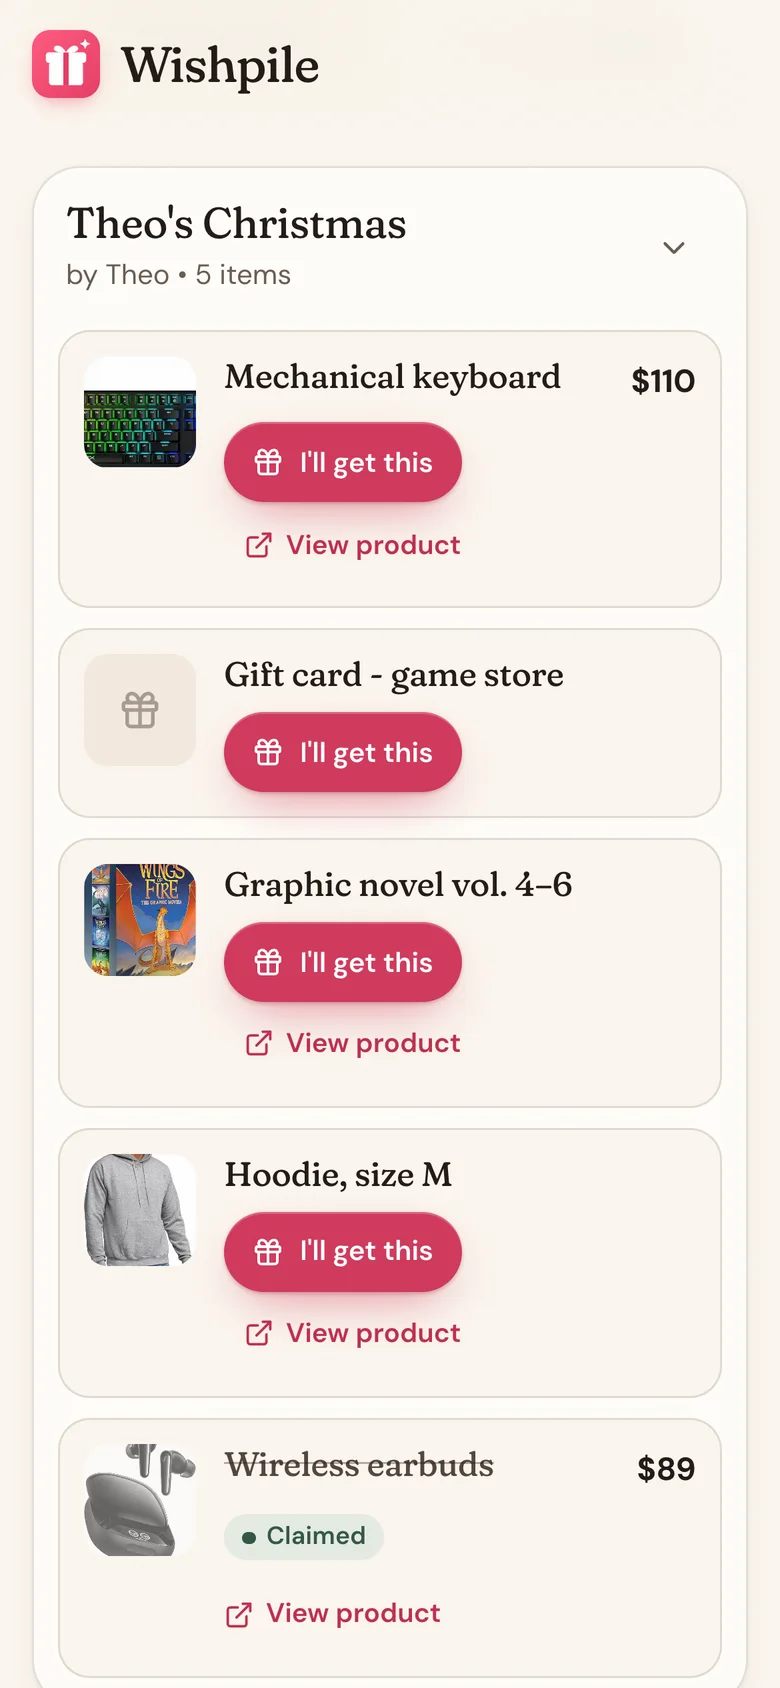
Tap the Group wishlists tab, then tap someone's list to open it. When you plan to buy something, tap I'll get this. You'll see You're getting this!, and everyone else sees it as Claimed, so nobody doubles up. Changed your mind? Tap Unclaim.
The person whose list it is never sees what's been claimed.
Come back anytime
Bookmark the page or keep the invite email. Your link is your key, and everything saves as you go.
Good to know
- Keep your link to yourself. Anyone who has it can change your wishlist.
- To change who sees your list later, tap Shared with everyone (or Private (organizer only)) under your list's name.
- An account is optional. If you want Wishpile on all your devices, create a free account with the same email your invite went to. Once you confirm your email, this group links to your account on its own.
Related
Still stuck?
Ask Wishpile and get an answer in seconds, or email support@wishpile.com and a real person will get back to you. Quick answers live in the FAQ.